We are committed to delivering high-quality LCD displays and digital signage solutions, combining reliable performance, competitive value, and professional support to help businesses communicate more effectively.
We are committed to delivering high-quality LCD displays and digital signage solutions, combining reliable performance, competitive value, and professional support to help businesses communicate more effectively.
 author
A digital menu board installation begins with a restaurant survey, not with the screen carton. The operator should know where guests will read, where power and network reach, how the display mounts and who updates prices after launch. A checklist connects these decisions to a commissioning test. It prevents a screen that works on a bench from becoming an unreadable, unreachable or difficult-to-service menu on the wall.
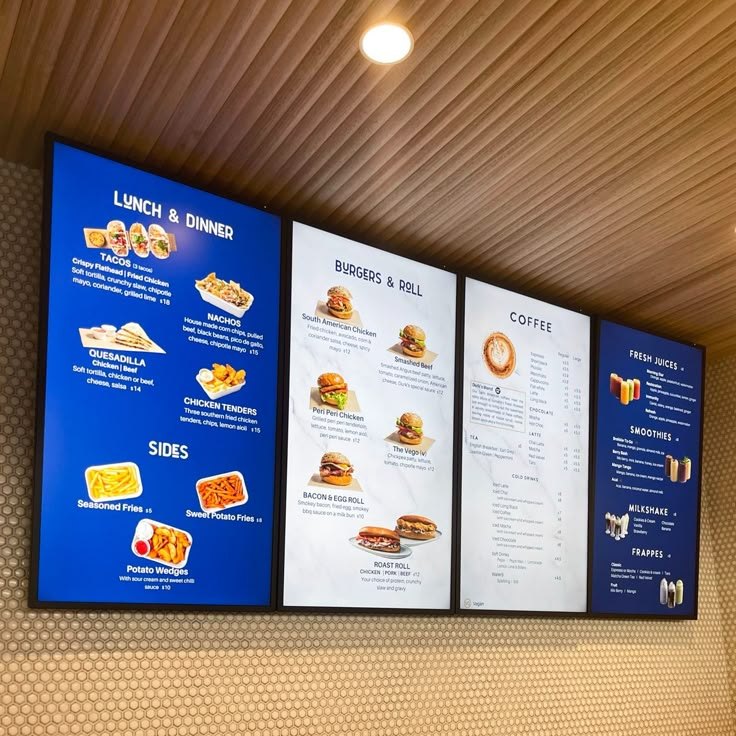
Start with the menu’s purpose and viewing points: queue, order counter, pickup zone or drive-through window. Count required screens and identify which content appears on each. Walk the space at normal trading times and note glare, crowding and sightlines behind people standing in line. Confirm who approves the location and any building or landlord restrictions before ordering hardware.
Decide what the installer, IT team and restaurant staff each own. The display supplier may provide a screen, while the operator supplies a media player, account, network or content template. Put these responsibilities on one page. It is easier to correct a missing power outlet in a survey than after menus are scheduled for launch.
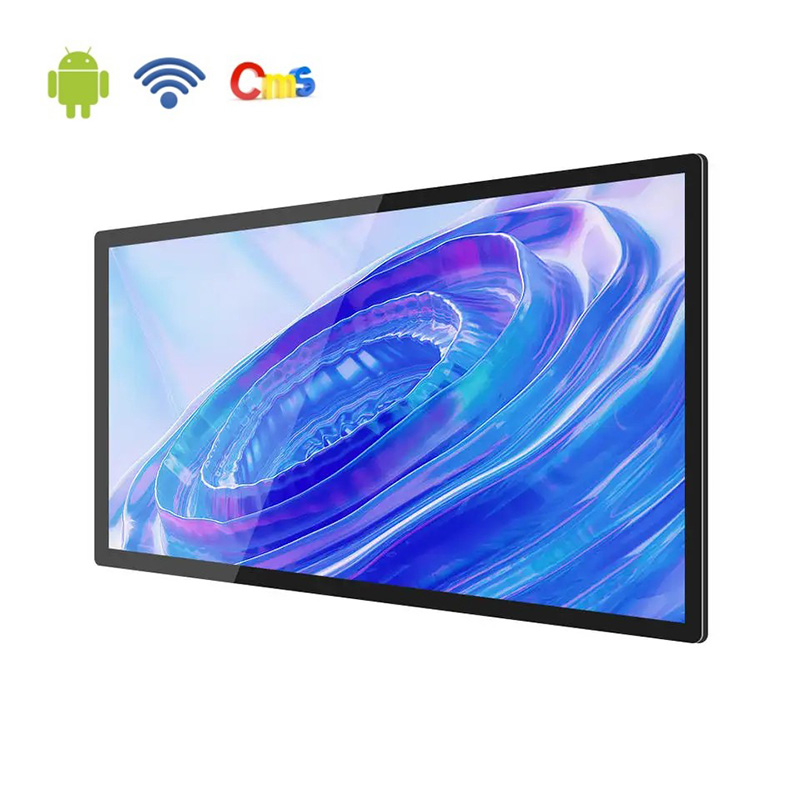
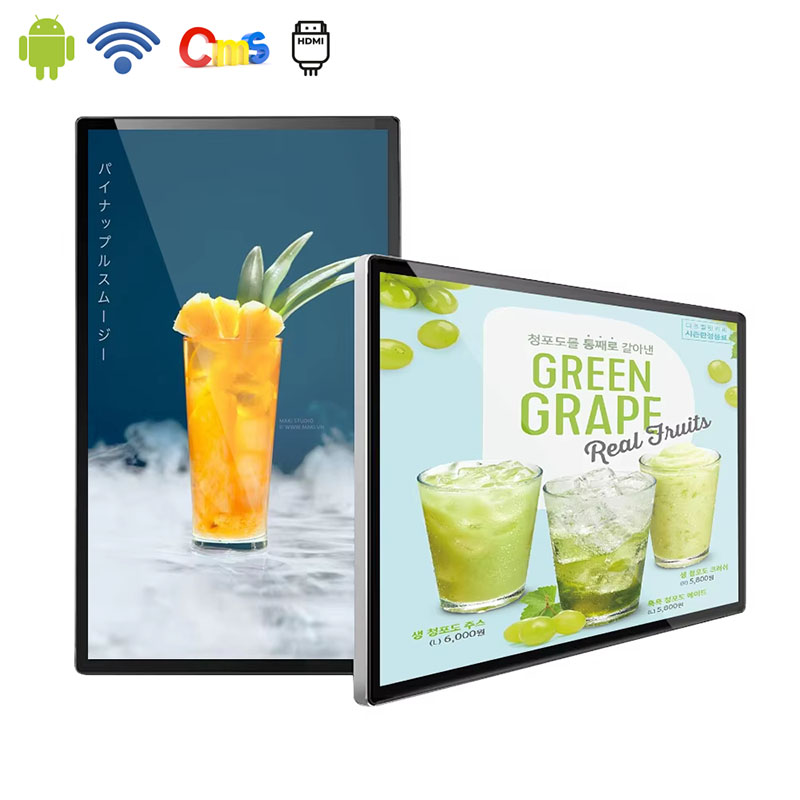
Our digital menu board provides a useful reference for this check; confirm the final configuration against the project specification.
Measure the wall or support, screen position, viewing distance, nearby lights, door swings and clearance for maintenance. Verify wall construction and load capacity with the qualified installer; a convenient surface is not automatically suitable for mounting. Include ventilation and access to ports, not merely the display’s face dimensions.
Trace power and data paths from the screen to approved outlets and network points. Check whether cables can be concealed safely and still be serviced. A multi-screen arrangement needs consistent spacing and alignment, but each panel must remain accessible. Photograph proposed positions and mark dimensions on a site plan. The approval drawing should show what the customer will see from the ordering point.
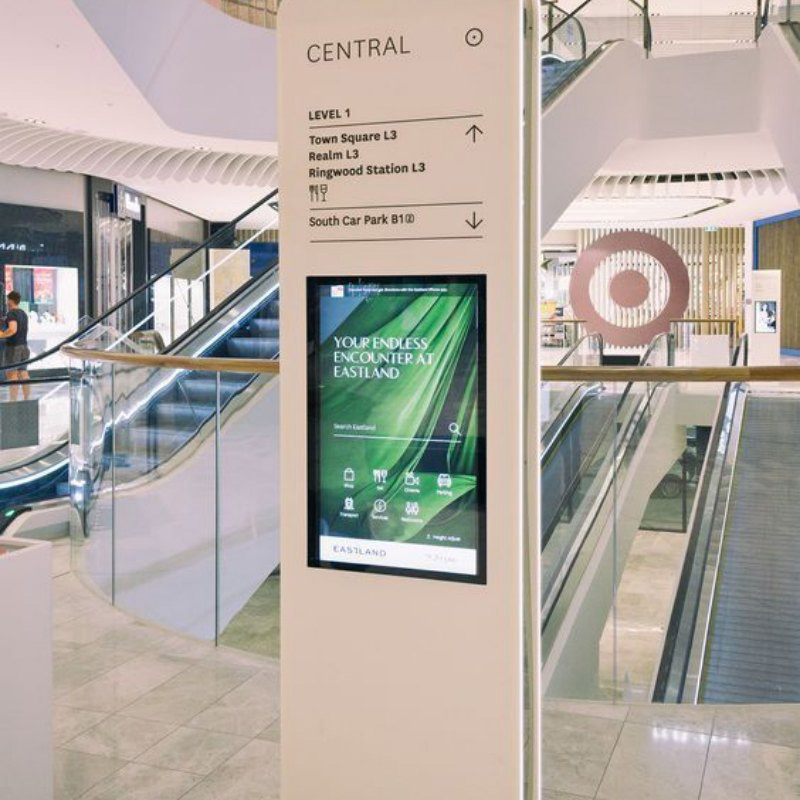
The restaurant menu board provides a useful reference for this check; confirm the final configuration against the project specification.
Test the actual content workflow before the screens are fixed. Confirm that the chosen player or built-in system receives updates, shows the correct menu zone and recovers from a restart. Check behavior when the network drops: does the last approved menu remain visible, does the screen show an error, and how will staff know an update failed? These answers depend on the selected software.
Use sample menu text with real pricing and long item names. View it from the queue at bright and dim times. If glare or font size causes difficulty, adjust content and position before handover. Keep the test file and screen settings as a baseline for future changes.
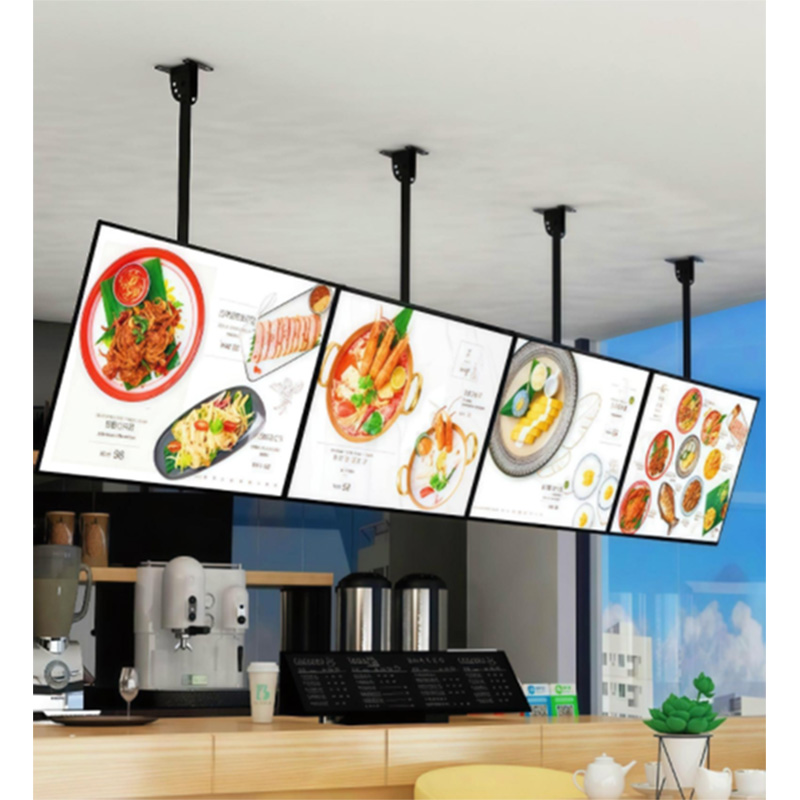
The acceptance walk should check mounting stability, alignment, cable protection, image quality, legibility, player operation and remote update. Verify that the correct content appears on each screen after a power cycle. Record any blocked access for cleaning or repair. A photograph from the guest’s position is useful evidence alongside the technician’s checklist.
Train staff on the normal update and fallback process. Name the person who owns menu content, the person who handles network incidents and the service contact for hardware faults. Give the restaurant a drawing and configuration record. A signed handover should include unresolved items with dates, rather than treating a powered-on screen as a finished installation.
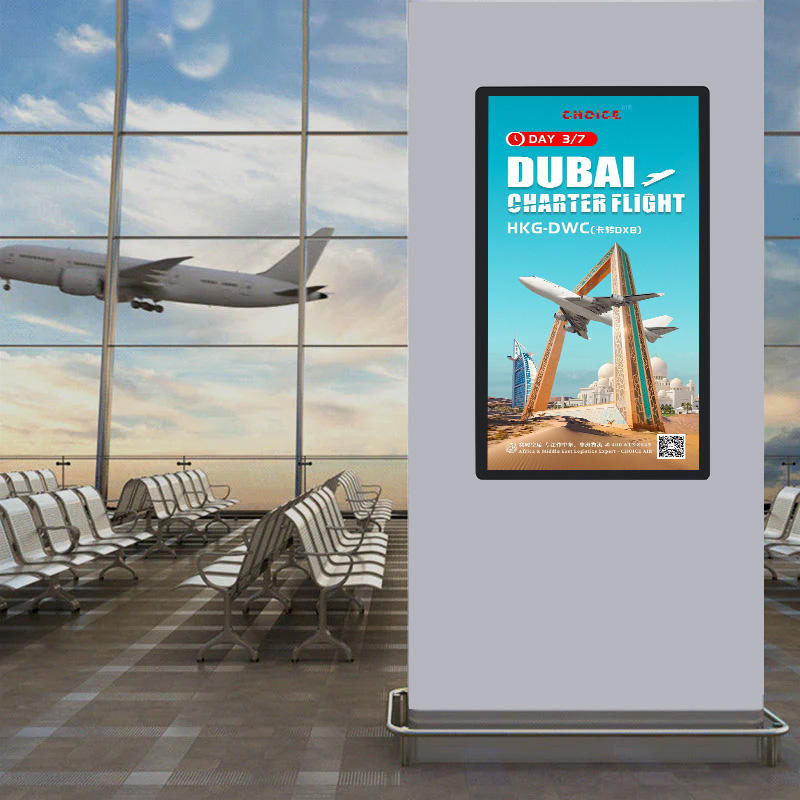
The restaurant case provides a useful reference for this check; confirm the final configuration against the project specification.
A useful survey can follow a guest from the entrance to the counter at a normal lunch rush. At each point, the team photographs the planned screen location and notes whether a person in line blocks the lower menu. The installer checks the wall and power route; the content owner loads a real menu with the longest item names and current prices. After mounting one sample, staff view it in daylight and under evening lighting. If glare hides a price column, the team can change placement, brightness or layout before all units are installed. The acceptance sheet should also include a simulated network interruption and a test update by a staff member. This catches an apparently successful installation where the screen powers on but nobody on site can change a sold-out item.
Use a single observation sheet for this trial. Its core fields are screen ID, location, wall approval, power and network points, content version, viewing test, restart result, staff training and open issue. The person making the observation should record the condition at the time, not reconstruct it from memory after the event. If a value is unavailable or a check could not be run, mark that field as pending and identify who will close it. Attach photographs or instrument files by their IDs, and retain the original version when a corrective action leads to a retest. This keeps the final decision auditable without turning the working checklist into a long narrative.
No. Mounting depends on wall structure, load, bracket and local requirements. A qualified installer should verify the proposed position.
It can work if the selected system and site coverage are reliable. Test signal and recovery at the installed location; consider a wired option where needed.
Yes. Glare and lighting can change readability. Check from the actual guest position during different operating periods.
Name a content owner and backup before launch. The installer should demonstrate the update workflow and document access and escalation.
Send the site plan, photos from guest viewpoints, screen count, proposed mounting points, power and network locations, content system and opening date. Ask for a site-specific equipment and installation review. Keep the accepted layout and update procedure at the restaurant so later menu changes do not depend on the original installer.
Send the project brief with the records described above, so the discussion starts from actual conditions.