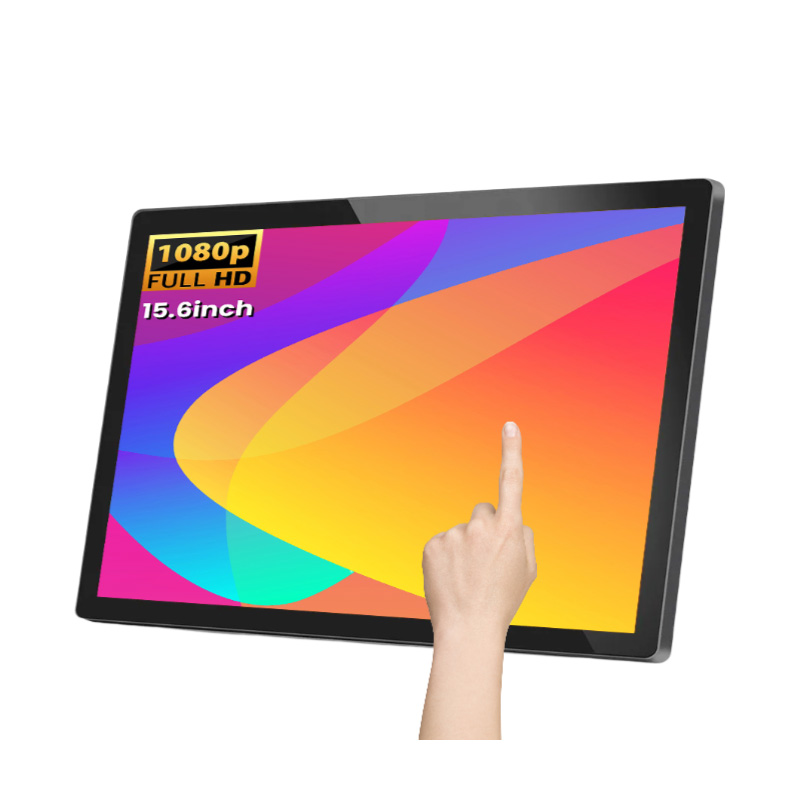
We are committed to delivering high-quality LCD displays and digital signage solutions, combining reliable performance, competitive value, and professional support to help businesses communicate more effectively.
We are committed to delivering high-quality LCD displays and digital signage solutions, combining reliable performance, competitive value, and professional support to help businesses communicate more effectively.
 Alihh
The screen lights up on your bench. The demo looks promising—until someone taps the button in the upper right and the pointer lands somewhere else. The video cable works. Touch is a separate problem. It is an easy detail to miss when a team chooses a monitor from its diagonal size and a product photograph.
Alihh has a touch monitor presented for Raspberry Pi 5 connection and a wider touch monitor range. We can discuss an external display for your application, but we need the complete system in view. Your Pi image, enclosure, cables, and user interface will decide what a successful sample actually looks like.
Picture a visitor standing at a wall-mounted information point. Is the text readable from where they first stop? Can a finger reach the button near the edge without hitting the frame? Now picture a staff member using the same display to acknowledge an alarm. The two screens may share a diagonal and need very different layouts. Tell us who touches it, from what distance, and under what lighting. Bring a screenshot of the actual interface, not merely a request for “a ten-inch touch screen.”
On the enclosure drawing, circle the opening and depth. The quoted diagonal measures the picture; the frame extends beyond it. Fold a cardboard version of the cabinet wall and offer up the sample. Suddenly the rear HDMI plug may hit the panel. That discovery is easier to handle with cardboard than with cut metal.
Write down the intended resolution and whether the display will sit in portrait or landscape. If you rotate it, will the software rotate the touch coordinates too? A cursor moving correctly on a desktop can still land on the wrong button in the real application. If the installation has two displays, mark which one should receive each tap. The application screen is the test.
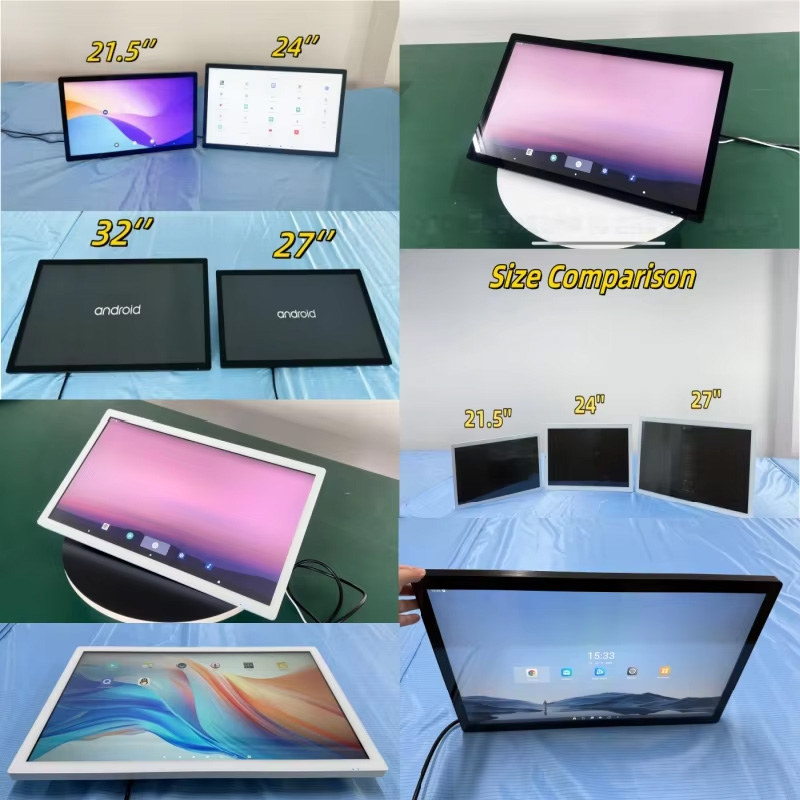
On the wiring sketch, run your pencil from Pi to display twice. One line might end at HDMI for the picture, another at USB for the taps. Label them only after checking the offered monitor’s ports. Draw the hub or adapter too. A photo showing your demo on the screen is useful, but you still can’t see from the photo how a touch event got back to the Pi.
Follow the Raspberry Pi configuration documentation as you prepare the image. In the running build, tap a corner and watch for the pointer. Try the other corners and the middle. Next, open the real kiosk interface: its small controls may reveal an offset that a desktop test missed. Rotate the sample if the cabinet will stand in portrait. On your test sheet, give picture and touch their own pass boxes. They are different checks.
Put the OS and application build numbers in the bench notebook, beside any touch-controller information supplied for the sample. Tape the wiring sketch to the same page. If a replacement screen misbehaves next year, a technician can rebuild the tested arrangement before guessing at a fault. Keep the install image or the steps that produced it. An update may have changed the mapping while the monitor itself is fine.
Where does the power cable end? On the drawing, put the Pi and display power inputs in separate boxes. Read the input information for the proposed units; a Pi USB socket should not be treated as the monitor’s supply by assumption. If your integrator wants one shared supply, the drawing needs the voltage, current headroom, connector details, and protection checked against the actual device instructions. A clean diagram can still depict an unsuitable supply.
Fit the mock panel, then imagine changing the touch cable after installation. Can a technician reach its plug, or must the whole display come out? Check for a pinch point at the bracket and a loose lead near the cleaning edge. If the cabinet is shallow, ask us where the connectors sit and which way the cables exit. Those details can change a metal drawing before fabrication.
Write the operating hours beside the cabinet location. A screen facing a bright window and running overnight has a different brief from a sheltered counter demo. Show the rear ventilation space and the staff access to the glass. A fifteen-minute trial on a workbench cannot represent the whole site.
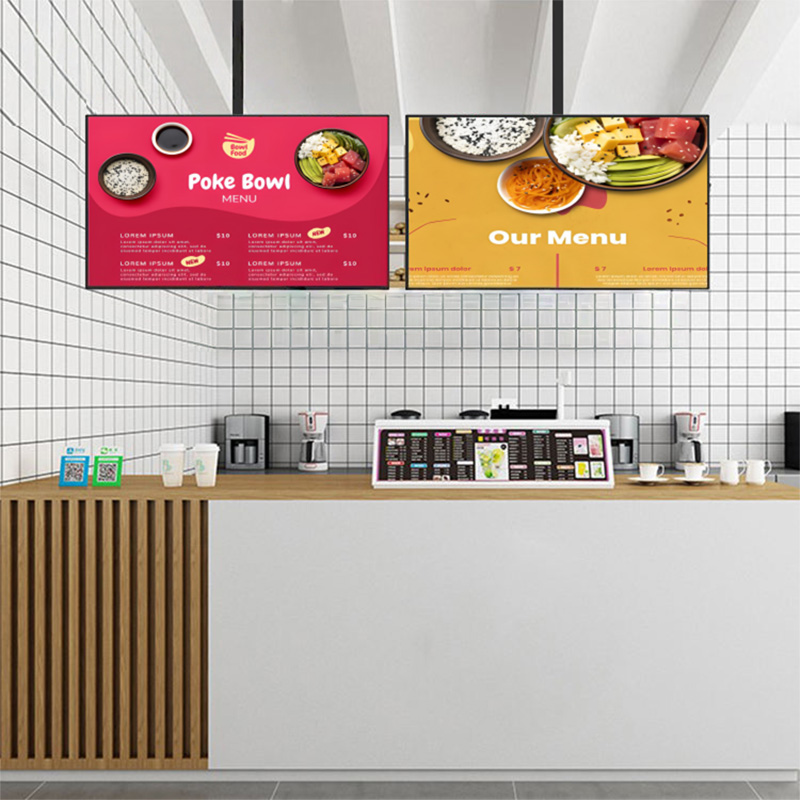
Your test rig should contain the Pi 5 you intend to use, its saved image, the offered monitor, the hub and cables, and a panel cut-out. Power it down and start it again. If a visitor walks up after an outage, do they see the application and can they tap it? A desktop waiting for an engineer is an interesting diagnostic state, but it isn’t a working public kiosk.
Run the cable along the route shown on the site drawing. That route may be longer than the convenient bench lead. Add the scanner or printer from the final design and use touch while it operates. If the upper-right button triggers the lower-left action after reboot, write down exactly that, plus the screen model, software image, and wiring. “Sometimes bad” sends everyone hunting in circles.
The trial may confirm the sample. It may also send your team back to enlarge the rear cavity or change a software setting. Those are concrete decisions, and they can be made before ordering a roomful of monitors.
In your enquiry, attach the cabinet opening and depth, resolution and orientation, Pi image, wiring and power sketches, operating hours, and quantity. Name the monitor listing you are considering. We can then discuss its exact interfaces and documents against your build. The tested assembly, with the little details written down, should settle the order.
Many external setups have separate video and touch paths, with HDMI and USB as one common combination. Check the proposed unit’s ports. A visible image tells you nothing about whether touch data has reached the Pi.
With the display in its final orientation, touch the center and four corners. Open the kiosk application; try the little button near the edge, where an offset is easiest to notice. Reboot and try again with the project’s other USB devices plugged in.
Use the interface mock-up at the visitor’s standing distance. If the text is too small or the buttons too close, a catalog diagonal won’t fix the design. Check the enclosure opening and the cable depth before calling a size suitable.
Look for the planned resolution and orientation, an application that starts where users expect it, accurate touch, and working peripherals. Write down the image version and wiring. Those notes make a later replacement test repeatable.
Bring the Pi 5 build, OS image, enclosure drawing, mounting space, cable plan, power plan, duty pattern, and quantity. Ask for documents and a sample for the exact proposed monitor. We can then address the assembly you are building rather than a generic product label.